Whether you’re a professional event organizer or a casual user, sometimes plans change and events need to be cancelled. Fortunately, Facebook offers a straightforward process to cancel events quickly and easily.
In this article, we’ll guide you through the steps required to cancel an event on Facebook. We’ll cover everything from accessing the event interface to smoothly communicating with attendees about the cancellation. With our comprehensive guide, you can have peace of mind knowing that cancelling an event on Facebook is a simple process.
Key Takeaways:
- Event cancellation on Facebook can be done quickly and easily with the right steps.
- Knowing how to navigate the Facebook event interface is crucial for cancelling an event.
- Tips for smooth event cancellation include communicating with attendees and offering alternative arrangements.
Understanding the Facebook Event Interface
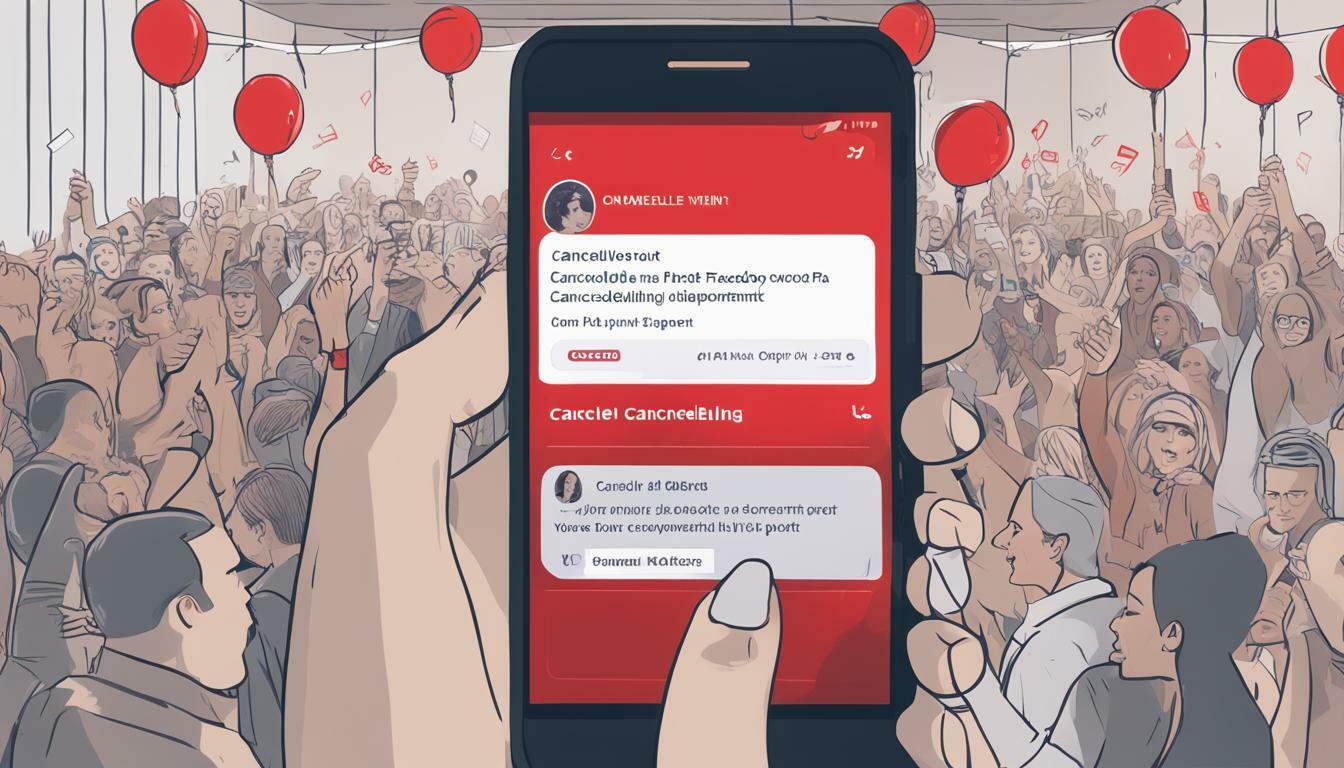
To cancel a Facebook event, it’s essential to understand the platform’s event interface. Firstly, open the Facebook website and go to your Event Dashboard. Then, click on the ‘Manage’ button for the event you wish to cancel.
The interface provides a range of options for event management, including editing, rescheduling, and cancellation. To cancel an event, click on the ‘Cancel Event’ button and follow the prompts to confirm the cancellation.
Pro Tip: It’s recommended to communicate with attendees before canceling an event. You can use the Facebook event interface to post updates or send messages to attendees.
For a quick and easy reference, check out the table below for the steps to cancel an event on Facebook.
| Step | Action |
|---|---|
| 1 | Open the Facebook website and go to your Event Dashboard. |
| 2 | Click on the ‘Manage’ button for the event you wish to cancel. |
| 3 | Click on the ‘Cancel Event’ button. |
| 4 | Follow the prompts to confirm the cancellation. |
By understanding the Facebook event interface, canceling a scheduled event on Facebook is a breeze. Follow the steps outlined in the table above, and you’ll be able to cancel your event efficiently and effectively.

How to Locate the Event to Cancel
Before you can cancel a scheduled event on Facebook, you must first locate it within the platform. To do this, you’ll need to access your Facebook account and navigate to the event page. Once you’re on the event page, you’ll find the necessary options for cancellation.
The first step is to log in to Facebook and go to your home page. From there, click on the Events tab located on the left-hand side of the screen. This will take you to a list of all the events that you’ve created or RSVP’ed to.
Find the event that you want to cancel and click on its title to access the event page. You can also search for the event using the search bar at the top of the screen. Once you’ve located the event, click on the gear icon located at the top-right corner of the page to access the event settings.
From this menu, you’ll see a range of options related to your event, including the ability to edit or invite guests. To cancel the event, scroll down until you see the “Cancel Event” button. Click on this option, and you’ll be prompted to confirm your decision to cancel the event.
Following these steps will ensure that you can easily locate and cancel your event on Facebook. If you need further assistance, consider consulting a cancel event on Facebook tutorial for more guidance.

Steps to Cancel an Event on Facebook
If you’re looking for a guide to canceling an event on Facebook, you’ve come to the right place. Follow these simple steps for effective event cancellation on Facebook:
- Go to your event page. You can use the search bar to find it or access it from your profile page.
- Click on the “Edit” button located in the upper right corner of the page.
- Select the “Cancel Event” option located at the bottom of the settings menu.
- A pop-up message will appear, asking you to confirm the cancellation. Click “Cancel Event” to finalize it.
And that’s it! Your event is now officially cancelled.
It’s important to note that canceling an event on Facebook does not automatically notify all attendees, so it’s important to communicate the cancellation to them through a post or message. You can also offer alternative arrangements or information on refunds if applicable.
Following these steps and communicating effectively can make for a smooth and effective event cancellation on Facebook.

Tips for Smooth Event Cancellation on Facebook
Cancelling an event on Facebook can be a stressful task, but with these helpful tips and best practices, it can be a smooth process for both the event organizer and attendees. Here are some tips to consider:
- Communicate clearly: It’s important to communicate the cancellation of the event with attendees in a clear and concise manner. Send an email or post an announcement on the event page to inform attendees of the cancellation.
- Offer alternative arrangements: If possible, consider offering alternative arrangements or rescheduling the event to avoid disappointing attendees. This can help maintain a positive relationship with your audience and potentially mitigate any negative feedback.
- Provide a reason: Providing a reason for the cancellation can help attendees understand the situation and empathize with the decision. Be honest and transparent about the reason for cancellation.
- Be responsive: Attendees may have questions or concerns regarding the cancellation. Be responsive to their inquiries and provide support as needed.
- Refund fees if necessary: If attendees have paid fees or tickets for the event, consider refunding the fees if possible. This can help maintain a positive relationship with your audience and potentially mitigate any negative feedback.
Remember, cancellations can happen to anyone and it’s important to handle them gracefully. By following these tips, you can navigate the cancellation process with ease and maintain a positive relationship with your audience.
Implementing these tips can help ensure a smooth event cancellation process on Facebook. Communication, empathy, and responsiveness are essential for minimizing any negative impact on your relationships with attendees and maintaining a positive reputation.

Conclusion
In conclusion, cancelling an event on Facebook is a simple and straightforward process. By following the step-by-step guide provided in this article, users can effectively manage their events and make necessary changes when needed.
Remember to take some time to understand the Facebook event interface before attempting to cancel an event. This will help you navigate the platform and find the necessary options for event cancellation.
If you need to cancel a scheduled event on Facebook, use the tips and best practices provided in this guide to ensure a smooth process. Communication with attendees and alternative arrangements are crucial steps to take to avoid any potential backlash.
Cancelling an event on Facebook made easy with this comprehensive guide. Don’t hesitate to use it for all your event cancellation needs.
FAQ
Q: Can I cancel an event on Facebook?
A: Yes, you can cancel an event on Facebook.
Q: How do I cancel an event on Facebook?
A: To cancel an event on Facebook, follow these steps:
- Navigate to the event page
- Click on the “Edit” button
- Select the “Cancel Event” option
- Confirm the cancellation
Q: What happens when I cancel an event on Facebook?
A: When you cancel an event on Facebook, it will be removed from the platform and attendees will be notified of the cancellation.
Q: Can I reschedule a canceled event on Facebook?
A: Yes, you can reschedule a canceled event on Facebook. Simply create a new event with the updated details.
Q: Will attendees be refunded if I cancel an event on Facebook?
A: Facebook does not handle ticket sales or refunds for events. If you’ve sold tickets through a third-party platform, you will need to communicate with them regarding refunds or rescheduling.

I’m Kendra, and I’ve dedicated this blog to unraveling the complexities of Facebook—from algorithms to community building. Whether you’re a business owner or an individual looking to amplify your presence, you’ve come to the right place. Together, let’s make your Facebook interactions meaningful and impactful